
Buying Guide · By Scenario _________________________________________
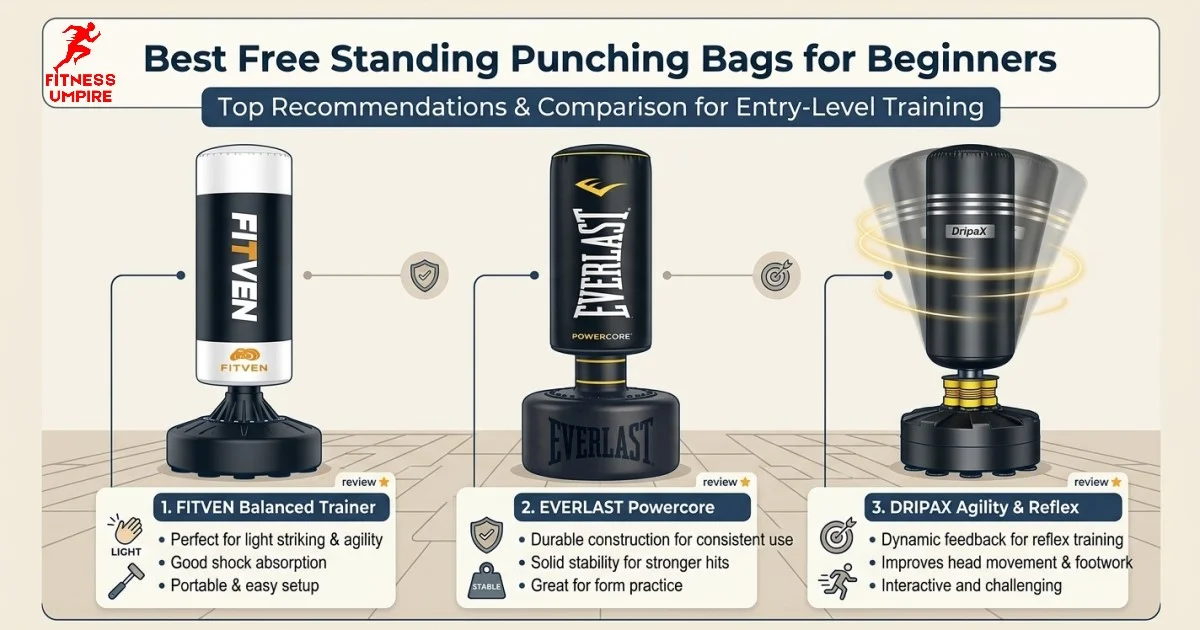
Part of our full freestanding punching bag testing guide
There are two ways to get a first punching bag wrong. One is overspending on a premium bag built for advanced training before you know whether the hobby will stick. The other is buying something so firm and cheaply built that it bruises your hands in week one and quietly kills your motivation.
In our main testing guide, we scored seven bags on stability, durability, and overall value. This page narrows that list down to the ones that actually make sense for someone starting from zero — forgiving foam, simple setup, and in some cases everything you need bundled into one box.
None of this is about buying “less bag.” It’s about buying the right bag for where you are right now.
What to prioritize _________________________________________
What Actually Matters When You’re Starting Out
The specs that decide a “best overall” ranking — maximum sand capacity, kickboxing height range, leather shell durability — aren’t the specs that matter for your first few months of training. Three things do.
Foam softness. Bags built for advanced training use denser foam that provides resistance feedback for developing power. Without that power yet — and often without proper wraps or gloves in the early sessions — dense foam mostly just transfers shock back into your wrists and knuckles. Softer, more forgiving foam lets you focus on form without your hands paying the price for it.
Bundled accessories. A bag that ships with gloves and hand wraps removes an entire round of research and an extra purchase. For a true first-timer, that’s not a minor convenience — it’s the difference between training tonight and waiting on a second order to arrive.
Setup simplicity. Water-fill bases that assemble in under 30 minutes get you training the same day. Sand-fill bases demand a trip to buy sand, more involved assembly, and a base that’s nearly impossible to reposition afterward — none of which adds value at this stage.
The case against overbuying _____________________________________
Why You Don’t Need a Premium Bag Yet
The two highest-scoring bags in our overall testing — the Century Wavemaster XXL and the Ringside Elite — earn those scores through sand-filled bases and dense shells engineered for full-power combinations from experienced strikers. Every part of that engineering is wasted on someone still developing basic technique.
There’s also a practical argument for waiting. Six to twelve months from now, you’ll know things about your own training that you can’t know today — whether you’ve gravitated toward boxing, kickboxing, or something MMA-adjacent, whether you’re training three times a week or seven, and how hard you’re actually hitting. That information is exactly what should drive an upgrade decision, and you simply don’t have it yet.
Buying a forgiving, well-built starter bag now — and a more specialized bag later, once you know what you’re specializing in — almost always beats trying to buy “the last bag you’ll ever need” on day one.
Before you hit anything _________________________________________
Safety Basics Most First-Timers Skip
Wrap your hands, every time. Hand wraps support the wrist and compress the small bones of the hand — they matter more on a freestanding bag than almost any other piece of equipment, because the bag doesn’t give the way a person or a heavier hanging bag does.
Use gloves sized for bag work, not sparring. Bag gloves in the 12–16oz range are standard for beginners — enough padding to protect your hands while you’re still building the conditioning and technique that make heavier work sustainable.
Build up power gradually. The instinct when you first get a bag is to hit it as hard as possible. Resist that. Spend your first sessions on form — stance, guard, return path — at maybe 40–50% effort. Power without technique is how beginners get sore wrists and small impact injuries that have nothing to do with the bag itself.
Check the base after your first few sessions. Bolts and connection points on any freestanding base can settle slightly after initial use. A two-minute check after sessions one, two, and three catches anything before it becomes a stability issue.
Our picks _____________________________________
Best Freestanding Punching Bags for Beginners
From the seven bags in our full test group, these three are the right starting points.
01
Top Pick · Beginners
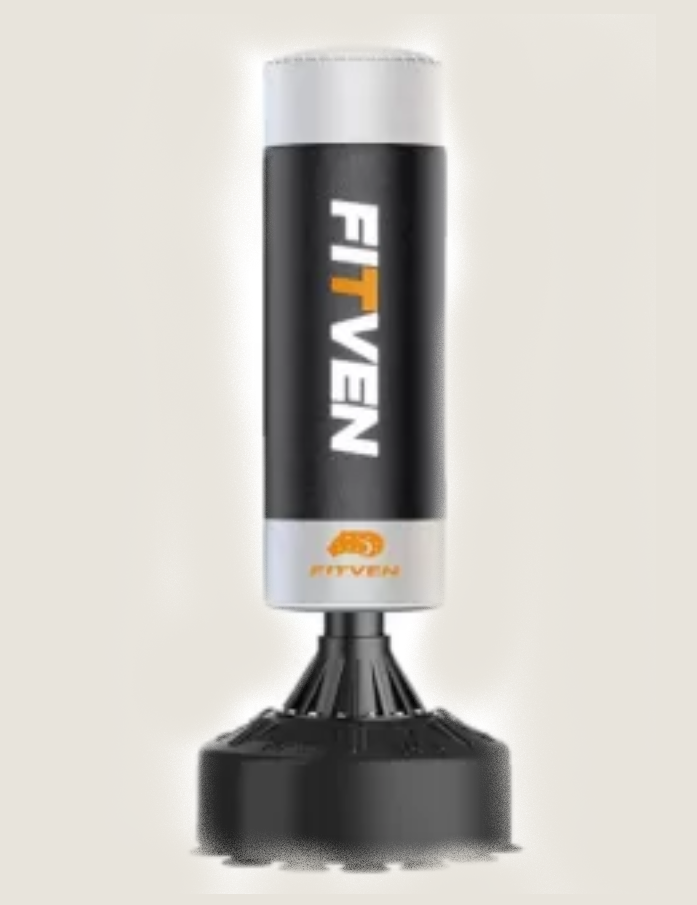
FITVEN Punching Bag
The most complete starter package in our test group — bag, base, gloves, and wraps in one purchase. The foam is noticeably more forgiving than the premium bags, and water-fill setup means you can be training within 30 minutes of opening the box. Read the full review →
8.1
OVERALL SCORE
02
Best for Fast Progression
Everlast Powercore Freestanding Bag
If you’re already reasonably athletic and expect to ramp up quickly, the Powercore’s dual-density foam — softer where it needs to be, denser where it counts — accommodates increasing power output far better than a pure beginner bag as your technique improves. Read the full review →
8.7
OVERALL SCORE
03
Best Budget + Compact
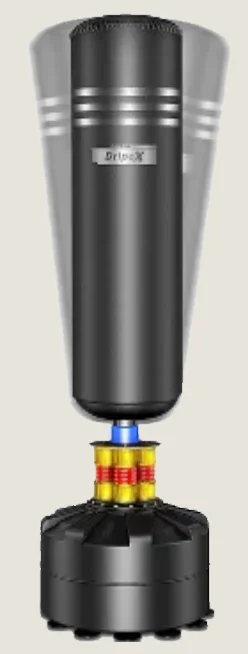
Dripex Freestanding Punching Bag
The fastest to assemble of any bag we tested, and the smallest footprint — a sensible choice if you’re starting out in a small space and want to confirm the habit sticks before committing to anything larger. Read the full review →
7.6
OVERALL SCORE
If you only read one line
If you want everything in one box and a foam density that won’t punish your hands while you learn — FITVEN is the starting point.
The full picture _______________________________________
Beginner Suitability, All 7 Bags
Assembly time, included accessories, and foam feel — the three factors that matter most before you’ve developed technique or power.
| Bag | Assembly | Included | Foam feel | Beginner fit |
|---|---|---|---|---|
| ⭐FITVEN Punching Bag | ~25 min | Gloves + wraps | Soft, forgiving | Excellent |
| ⭐Dripex Freestanding Bag | ~20 min | None | Moderate | Good |
| ⭐Everlast Powercore | ~40 min | None | Dual-density | Good — step-up pick |
| RDX Freestanding Bag | ~35 min | None | Medium-firm | Workable |
| Century BOB XL | ~45 min | None | Soft urethane | Different use case |
| Century Wavemaster XXL | ~50–60 min | None | Firm | Not yet |
| Ringside Elite | ~55–60 min | None | Firm (leather) | Not yet |
What to skip for now _____________________________________
What to Skip as a Beginner
The Century Wavemaster XXL and Ringside Elite are two of the best-performing bags we tested overall — they’re just engineered for a stage of training you haven’t reached yet. Their firmer foam and sand-fill stability are built for full-power combinations, and on day one that’s resistance you don’t need and won’t benefit from.
The Century BOB XL is a different case — it’s not “too advanced,” it’s simply built for a different purpose. Its human-shaped target is excellent for MMA and self-defense training, but it’s not the general-purpose bag a first-time striker needs.
Once you’re training with real intensity and know which direction you’re heading, both of these become genuinely worth a look — see our guides for a home gym setup and for heavy hitters.
Not yet — but worth revisiting later ______________________________
Century Wavemaster XXL and Ringside Elite — excellent bags, just engineered for a training stage that’s still ahead of you.
Century BOB XL — a specialist tool for MMA and self-defense targeting, not a general first bag.
Before your first round _____________________________
First Session Checklist
Looking ahead ______________________________________
Signs You’ve Outgrown Your Starter Bag
- The foam feels “dead” under full-power shots — no resistance, no feedback, just absorption.
- The bag walks noticeably even with a mat and full water fill, particularly under kicks.
- You’ve settled into a specific discipline — kickboxing, Muay Thai, or MMA — with its own height and stability demands.
- You’re training five or more times a week and want a bag built for that frequency long-term.
Any one of these is a good signal to start looking at our full buying guide for the next step up.
FAQs _____________________________________________________________
Beginner Punching Bags — Frequently Asked Questions
Do I need gloves for a freestanding punching bag?
Yes. A freestanding bag doesn’t give the way a person does, so unprotected or improperly protected hands absorb more shock with every strike. Hand wraps plus 12–16oz bag gloves are the standard starting setup, regardless of which bag you choose.
Should a beginner get a freestanding bag or a hanging bag?
Freestanding, in almost every case. Hanging bags require ceiling mounts or stands, which adds cost and complexity before you even know if the hobby will stick. Freestanding bags need no installation, work in apartments, and let you start training the same day. See our full freestanding vs. hanging comparison for the complete picture.
How much should a beginner spend on a freestanding punching bag?
A complete beginner setup — bag, base, and basic accessories — typically falls in the budget-to-mid-range tier. Spending less often means firmer foam that’s uncomfortable on unprotected hands; spending significantly more buys stability and durability features that go unused until your technique and intensity catch up.
Will a beginner-friendly bag hold up as I improve?
For the first six to twelve months of consistent training, yes — bags built with beginners in mind are designed for regular use, not just light tapping. What changes over time is what you’ll want from a bag, not whether it survives: as your power and discipline focus develop, you may want a firmer, more stable, or taller bag better suited to that specific training.
What height or size bag should a beginner buy?
A standard adjustable range of roughly 63–68 inches covers the fundamentals — jabs, crosses, hooks, uppercuts, and body shots — for most adults. Extended height ranges for head-kick training matter more once you’ve moved into kickboxing or Muay Thai specifically, which isn’t typically a beginner’s first priority.
Want the full picture?
See how all seven bags scored across stability, durability, and value — plus our complete buyer’s guide and head-to-head comparisons.

David Paul
Founder & Lead Equipment Tester — fitnessumpire.com
David has been training in boxing and martial arts for over a decade. He founded Fitnessumpire after finding that most online punching bag reviews were written without any real hands-on testing — and that the freestanding bag category was the worst offender.
Testing note: Every bag reviewed on this site was purchased at retail price and tested through an 8-week protocol — 500+ strikes per session, lateral shift measurements at both water and sand fill, decibel readings on hardwood and rubber mat, and weekly durability inspections. No manufacturer samples were accepted.
10+ years boxing & martial arts
7 bags independently tested
500+ strikes per bag
8-week test protocol